Installing Vivado (Legacy)
For the most up to date version of this guide, please visit Installing Vivado, Vitis, and Digilent Board Files.
Download/Install
The Vivado webPACK is a Xilinx product that can be downloaded for free here. You must create and activate an account on the Xilinx website to download and install Vivado. For this tutorial, we will be installing Vivado version 2014.3 using their web install client.
Windows 7 Installation
Once you have downloaded the installer, open it and you will see a welcome screen.
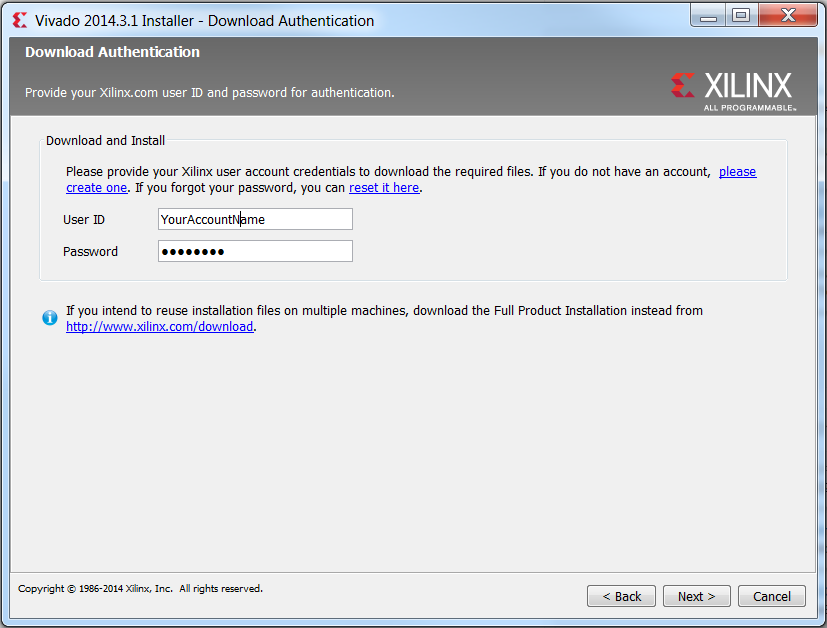
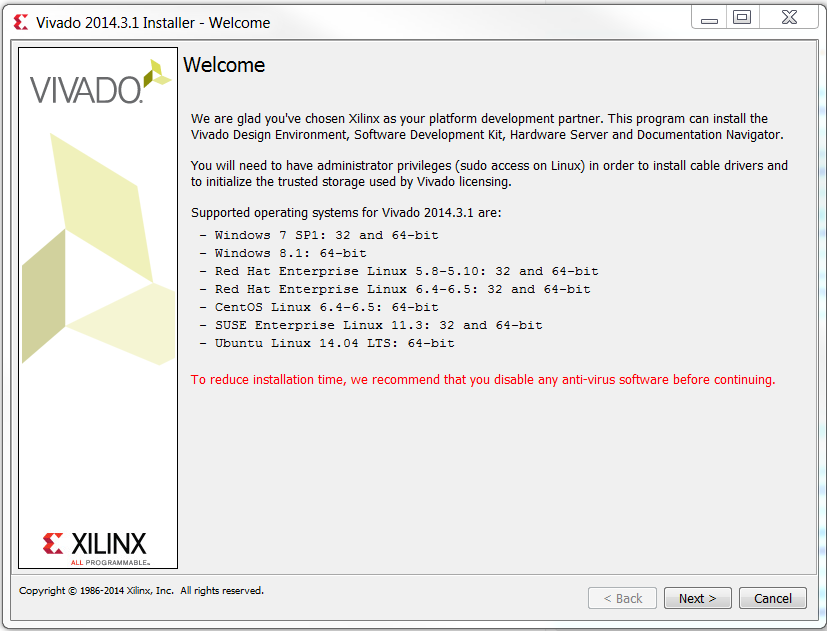 Click next, enter your account ID and password, and click next again.
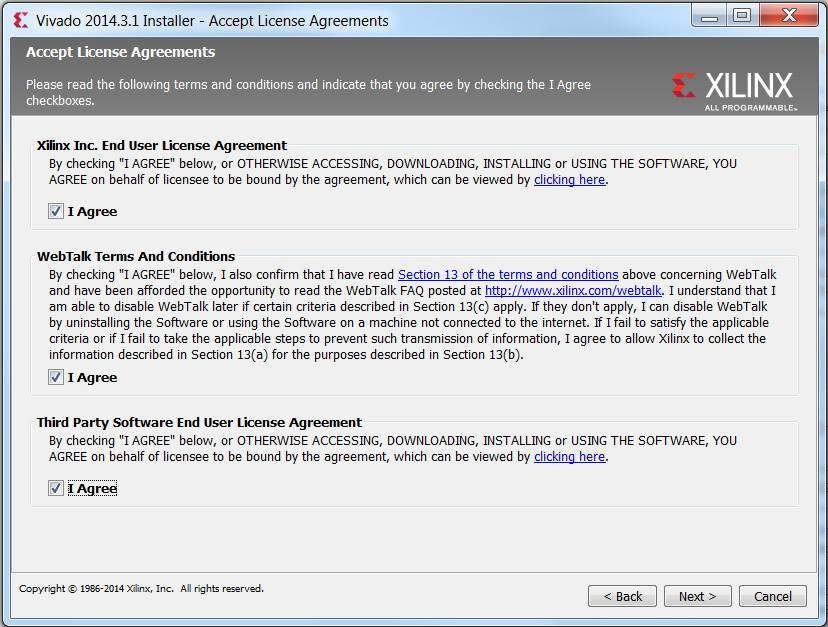
 Read and accept the the terms of conditions and click next.
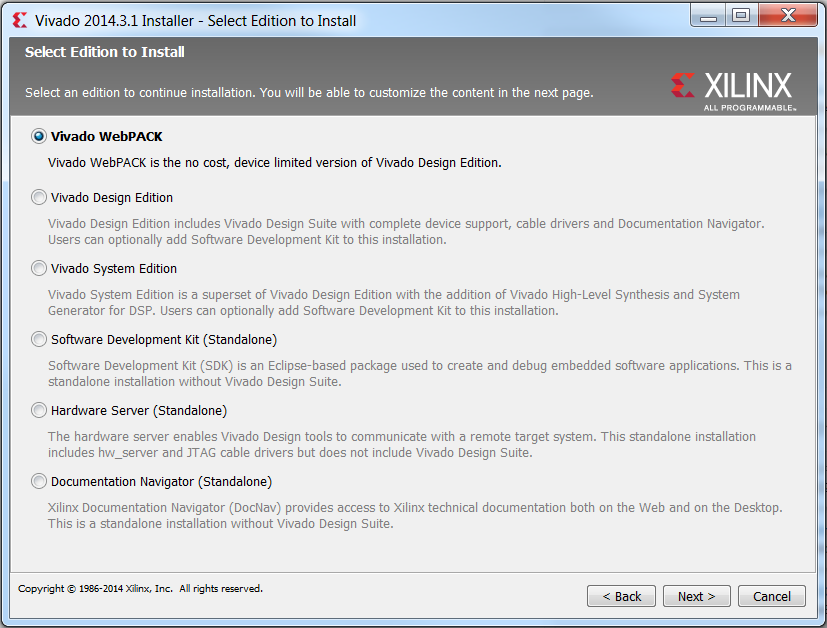
 On the following screen, select Vivado WebPACK and click next.
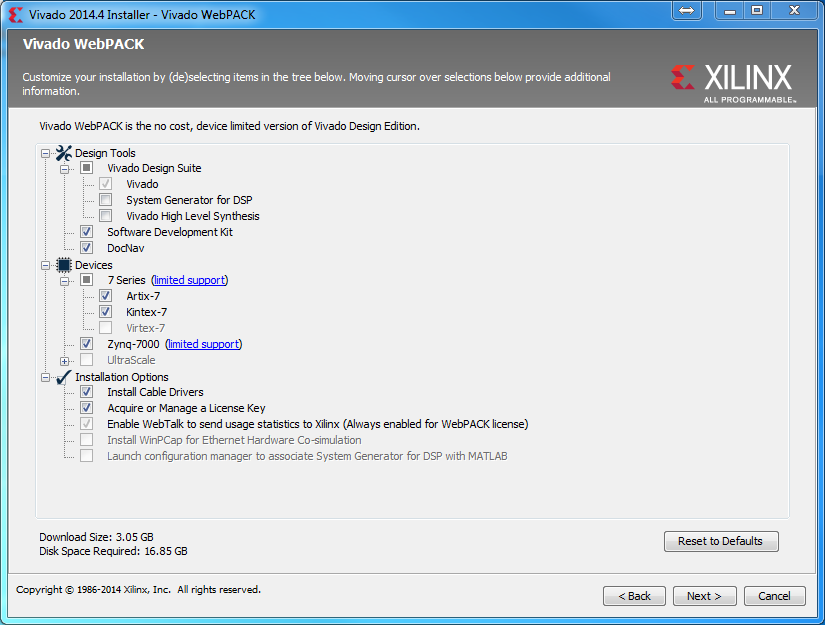
 On the next screen, make sure the Software Development Kit, Artix-7, Install Cable Drivers, and Acquire or Manage a License Key are all checked and click next.
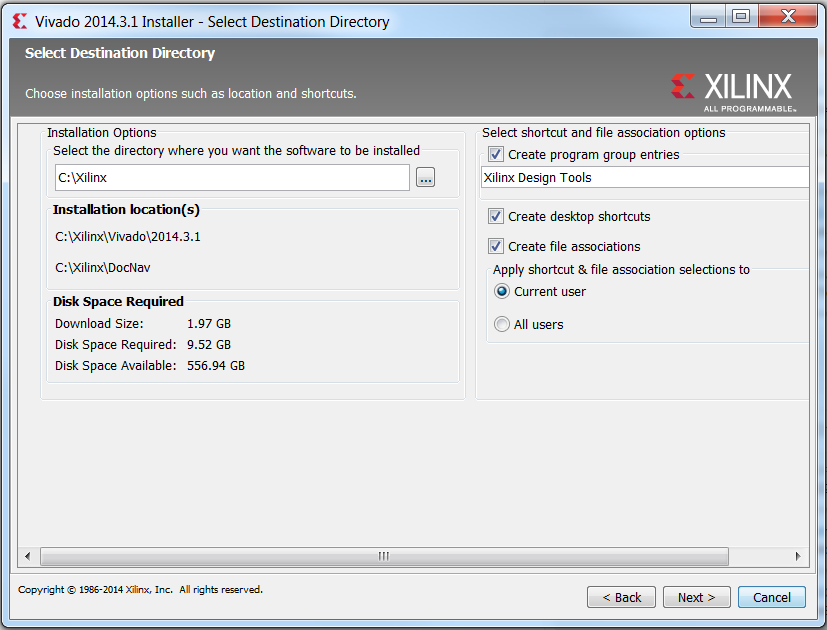
 On this screen you can choose where you want to install Vivado. By default it installs to C:\Xilinx.
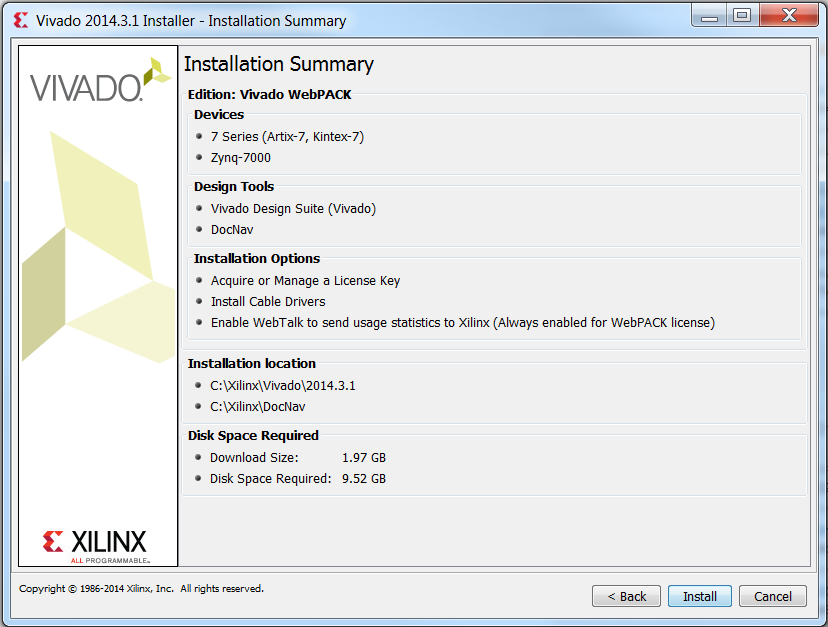
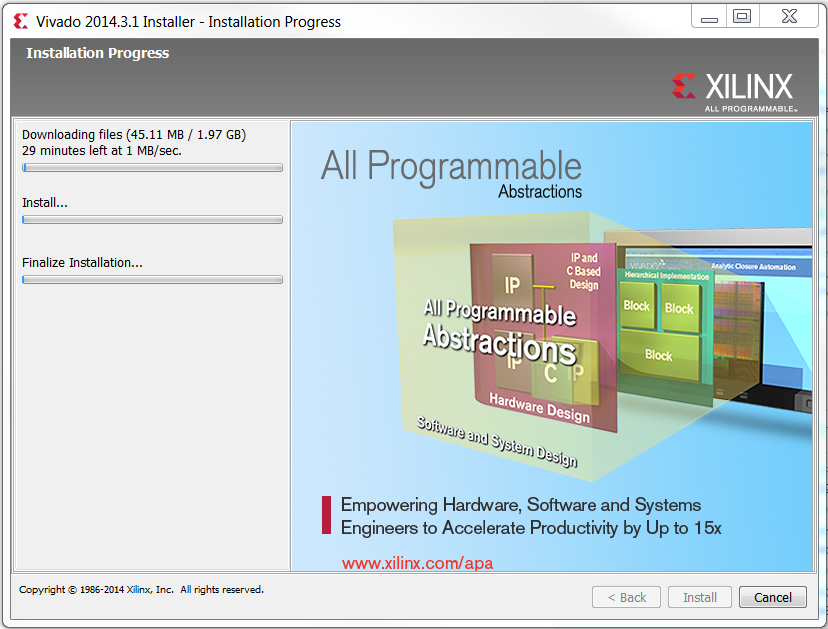
 The final screen summarizes your selections. Click install, and the installer will begin downloading the files it needs to install Vivado.
 |  |
|---|
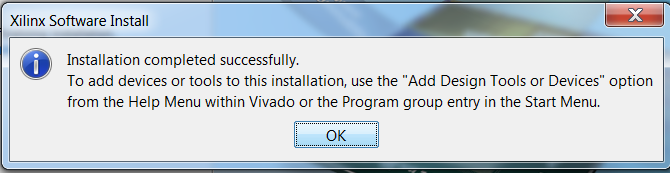
One it is done downloading the files, it will automatically install them using the settings you gave it earlier.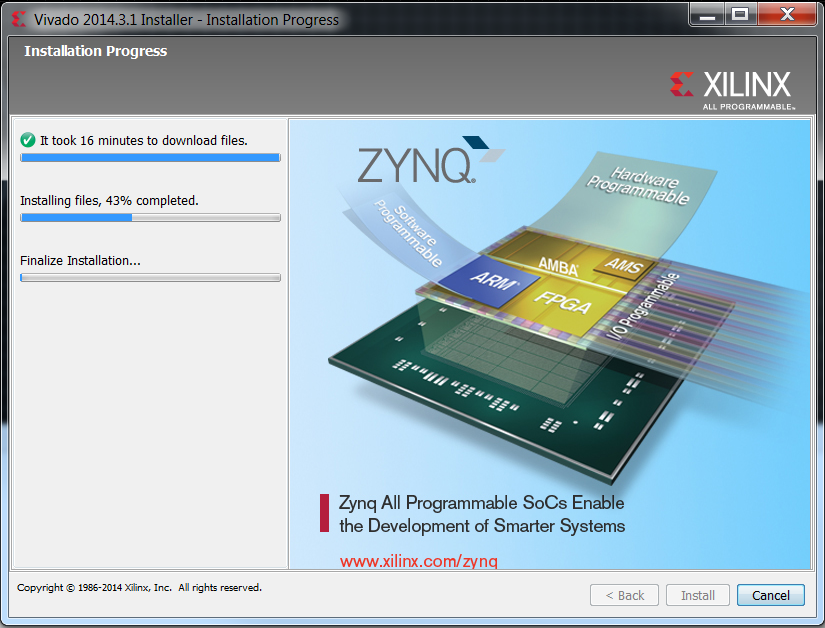 When it's finished installing you should see this box pop up. Click ok, and the Xilinx License Manager should open up.
Getting your Free WebPACK License
Once downloaded and installed, you must obtain a license through their license manager.
If the license manager window is not already open, you can find it by either searching your start menu for “Manage Xilinx Licenses” or by clicking “Obtain a License Key” under the “Help” toolbar in Vivado.
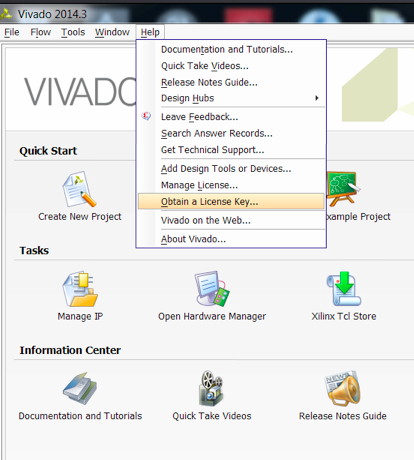
This will open up the License Manager.
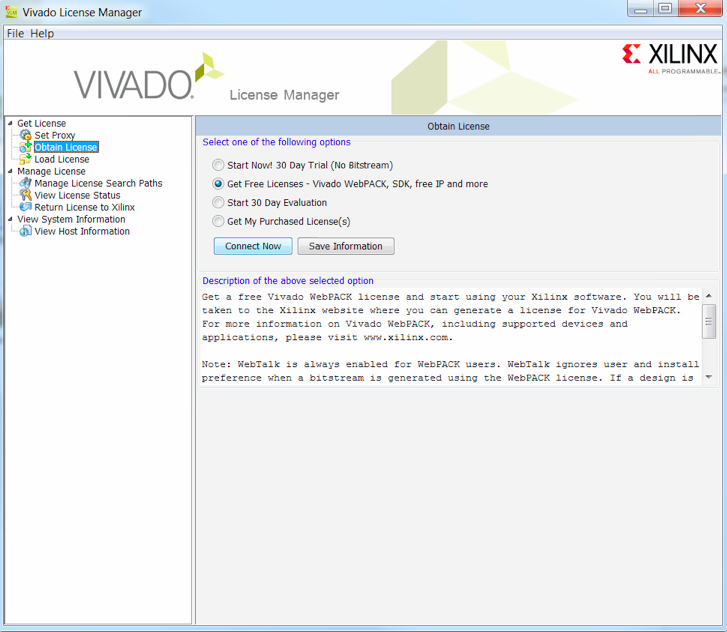
Under “Obtain License” click the “Get Free Licenses - Vivado WebPACK, SDK, free IP and more” bullet and click “Connect”.
This will open up your internet browser. After confirming your account details and clicking “Next”, you will see the Xilinx license creator.
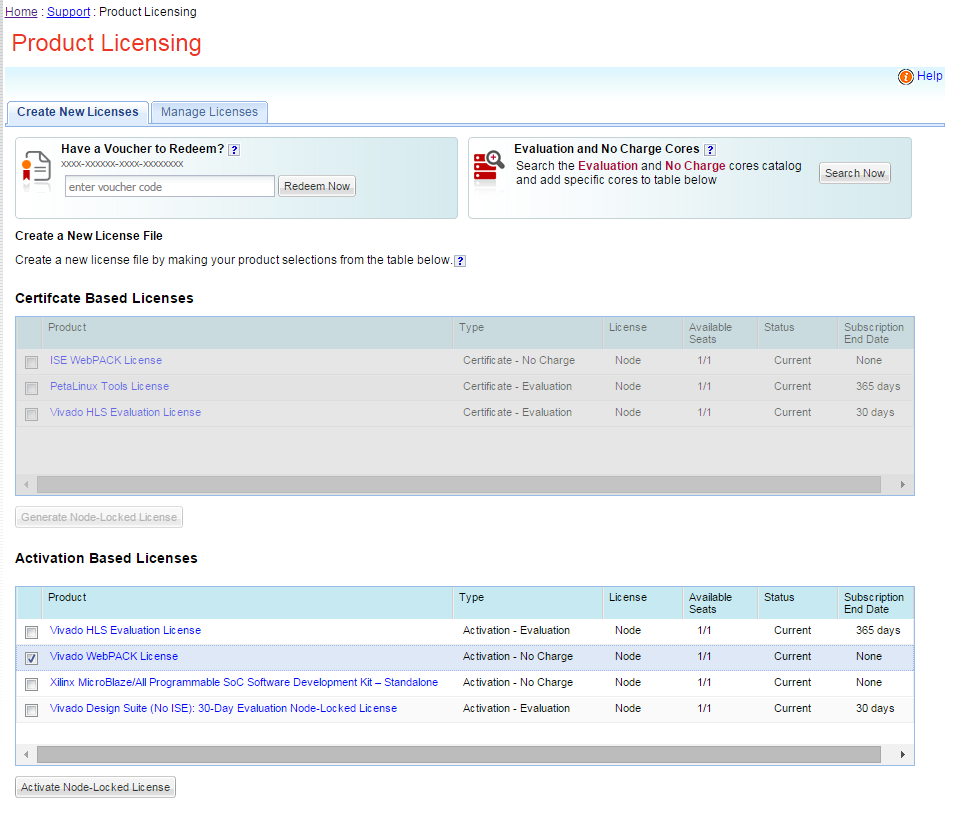
Click “Vivado WebPACK license” under Activation Based Licenses. This will open the License Generator.
 Click “Next” to review your request.
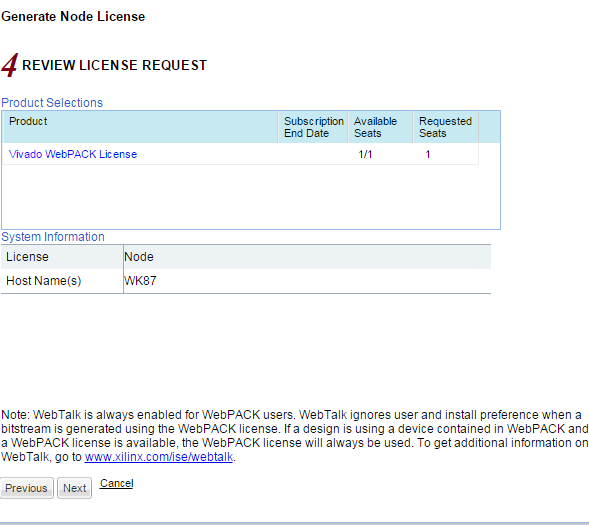 Click “Next” again and you should see this screen.
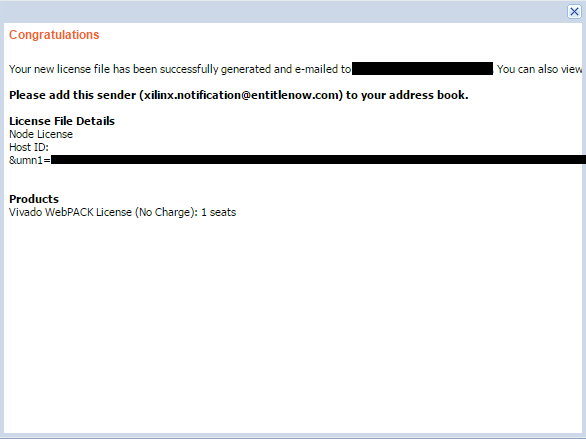
Your Vivado WebPACK edition should be activated!