Analog Discovery Canvas - Working with a an Analog Discovery 2
Introduction
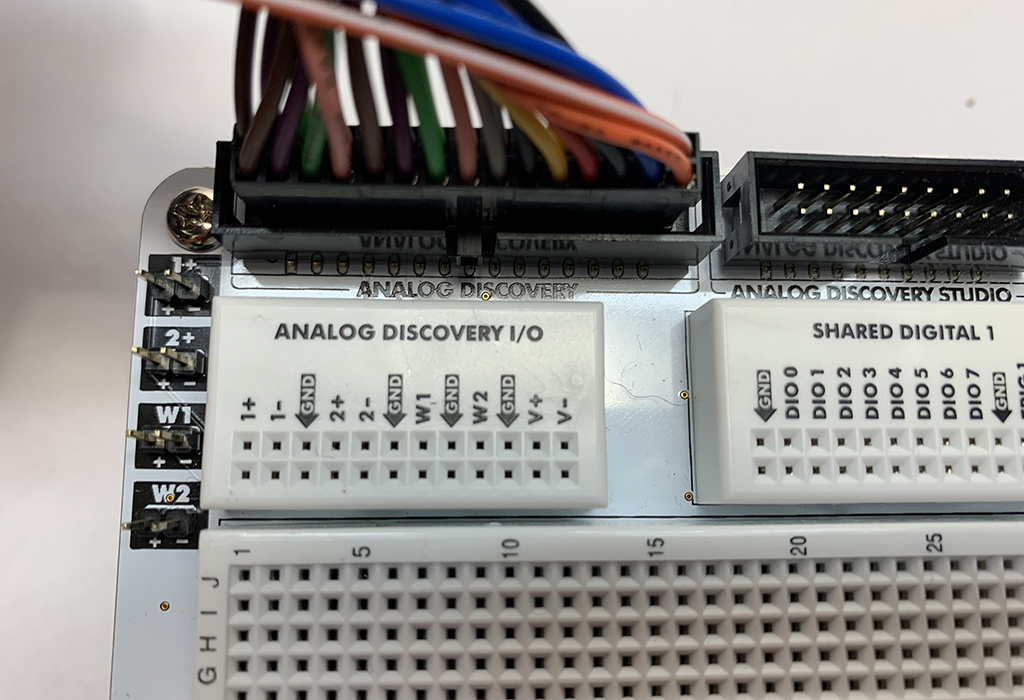
This guide explains the use of the Analog Discovery Canvas with an Analog Discovery 2. Connect the Analog Discovery Canvas with the Analog Discovery 2 via the 2×15 header.
- Two 630 tie-point solderless breadboards
- 24 tie-point solderless breadboard for Analog Discovery I/O connections
- Two 24 tie-point solderless breadboard for Shared Digital I/O connections
- 24 tie-point solderless breadboard for Analog Discovery Studio output connections
- 2×15 connector to make a connection with an Analog Discovery
- Breakout solderless breadboard for Oscilloscope 1 & 2, Wave Gen 1 & 2, V+ and V-
Note The power supply switches, and power supply indicators are not functional when working with an Analog Discovery Studio. The switches and indicators only work with the Analog Discovery Studio.
Inventory
Note: This guide only pertains to the Analog Discovery 2.
Demonstration
1. Setup
1.1
With the Analog Discovery 2 disconnected from your computer and the (optional) power supply turned off, connect it to the Analog Discovery Canvas via the 2×15 header found in the upper left hand corner of the Analog Discovery Canvas.
1.2
Connect the Analog Discovery 2 to your computer via the USB cable and plug in the (optional) power supply.
Next Steps
For more guides on how to use the Analog Discovery Studio, return to the device's Resource Center.
For more information on WaveForms, visit the WaveForms Reference Manual.
For technical support, please visit the Test and Measurement section of the Digilent Forums.


