This is an old revision of the document!
Getting Started with the DMC60C
This guide will provide a step by step guide of setting up the DMC60C API and configuration utility, as well as the FRC Driver Station environment.
Prerequisites
Hardware
- NI roboRIO
- USB Cable or Ethernet cable to plug it in.
- DMC60C
- USB Gamepad (For example projects)
Software
- Labview 2019 FRC Edition (if using Labview)
- FRC Update Suite
- WPILIB Suite with VS Code installed
- DMC60C API
Tutorial
1. Setting up the roboRIO
1.1) Power up the roboRIO and plug it into your network via ethernet cable, or into the computer via USB.
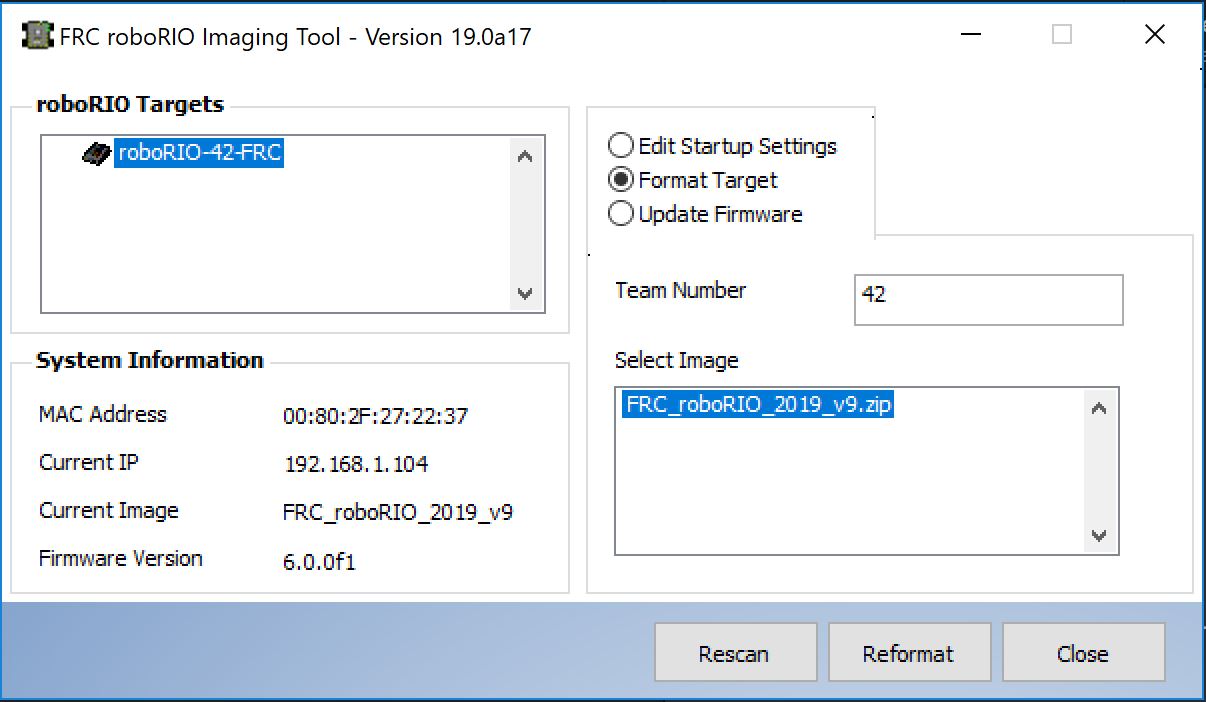
1.2) Open roboRIO Imaging Tool. Find the roboRIO in the roboRIO Targets box.
NOTE: If the roboRIO does not appear on the list, make sure that it is connected to the same network as the computer running the Imaging tool.
1.3) Enter your Team Number in the appropriate box.
1.4) Check the box next to Format Target, and select FRC_roboRIO_2018_v*.zip then click Reformat.
Once the roboRIO has been successfully reformatted and updated, you may close the Imaging tool.
2. Installing DMC60C Library files
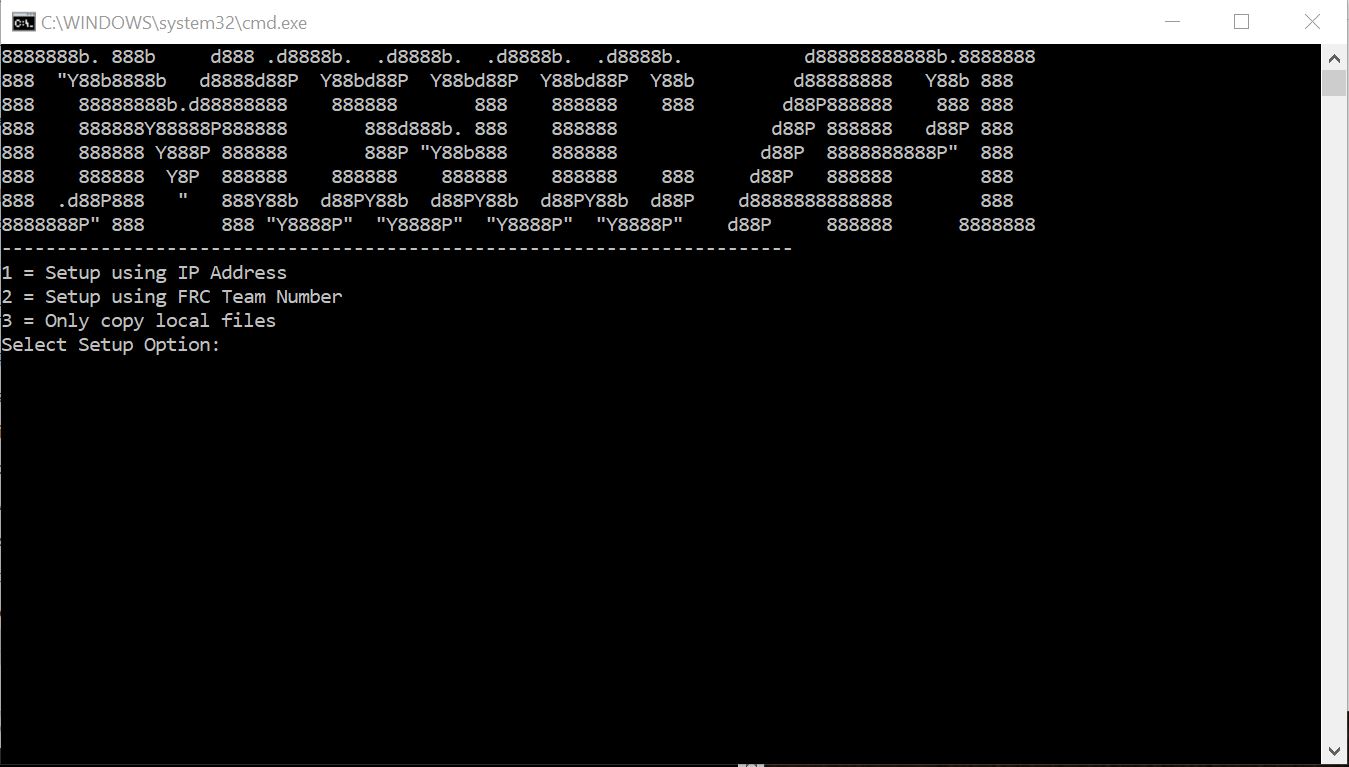
2.1) Run Install DMC60C libraries and config utility.bat. This is the install script for the DMC60C API. It will also install the DMC60C Config Utility server onto the roboRIO.
2.2) Selecting 1 or 2 will copy the DMC60C config server to the roboRIO. The username and password can be left blank unless it was changed on the roboRIO. It will also install the DMC60C Library files to the WPILib directory. Selecting 3 will only copy the API files to the WPILIB directory.
2.3)The DMC60C config server is hosted at “roboRIO-[team number]-FRC.local:8000”. The roboRIO IP address can also be used “[roboRIO IP address]:8000” to reach the server. This server is automatically started after installation.
3. Configuring your DMC60C
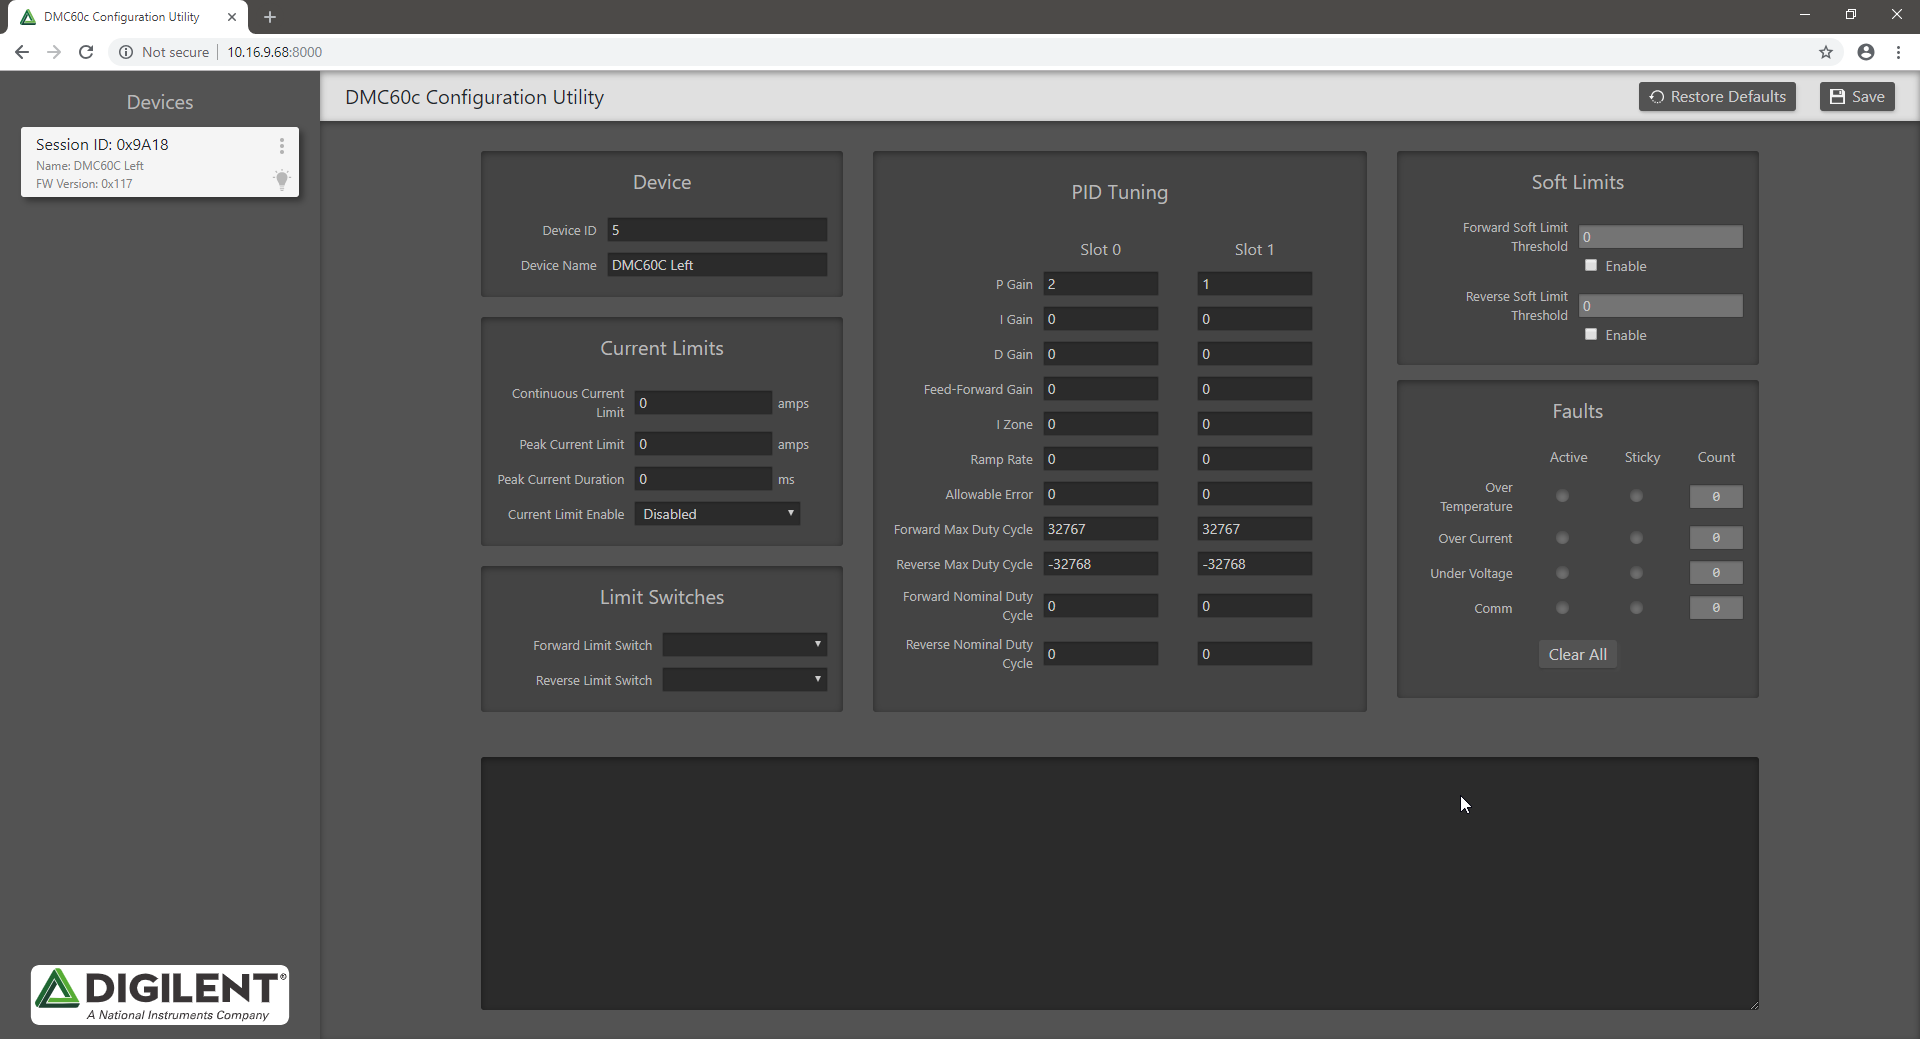
3.1) Open an internet browser and type “roborio-[teamnumber]-frc.local:8000”, replacing [teamnumber] with your team number. The roboRIO's IP address will also work and may respond faster. For example: 192.168.1.104:8000
3.2) If the DMC60C configuration utility was successfully set up, it will show up in the browser. Make sure to change the device ID from 0 to any number between 1 and 65 before continuing. You may also configure any other options here as well.
4. Opening an example project (C++/Java)
4.1) Open FRC VS Code 2019.
4.2) Click File>Open Folder.
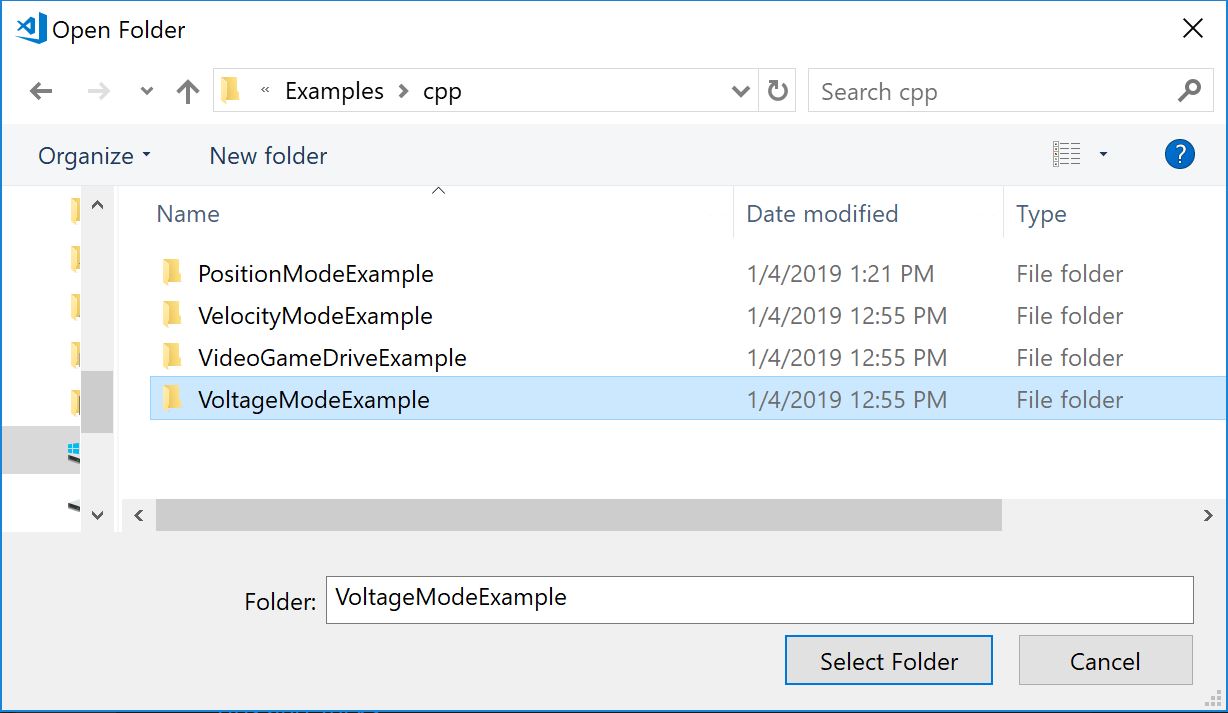
4.3) Navigate to the dmc60c-frc-api\Examples folder. Select the folder containing the example project and click Select folder.
The project folder will be added to the VS Code workspace. This project already has the DMC60C vendor dependencies installed. Note: To install vendor dependencies, click the W in the top right corner and click Manage Vendor Libraries>Install New Libraries (Offline)>Digilent-DMC60C and click OK.
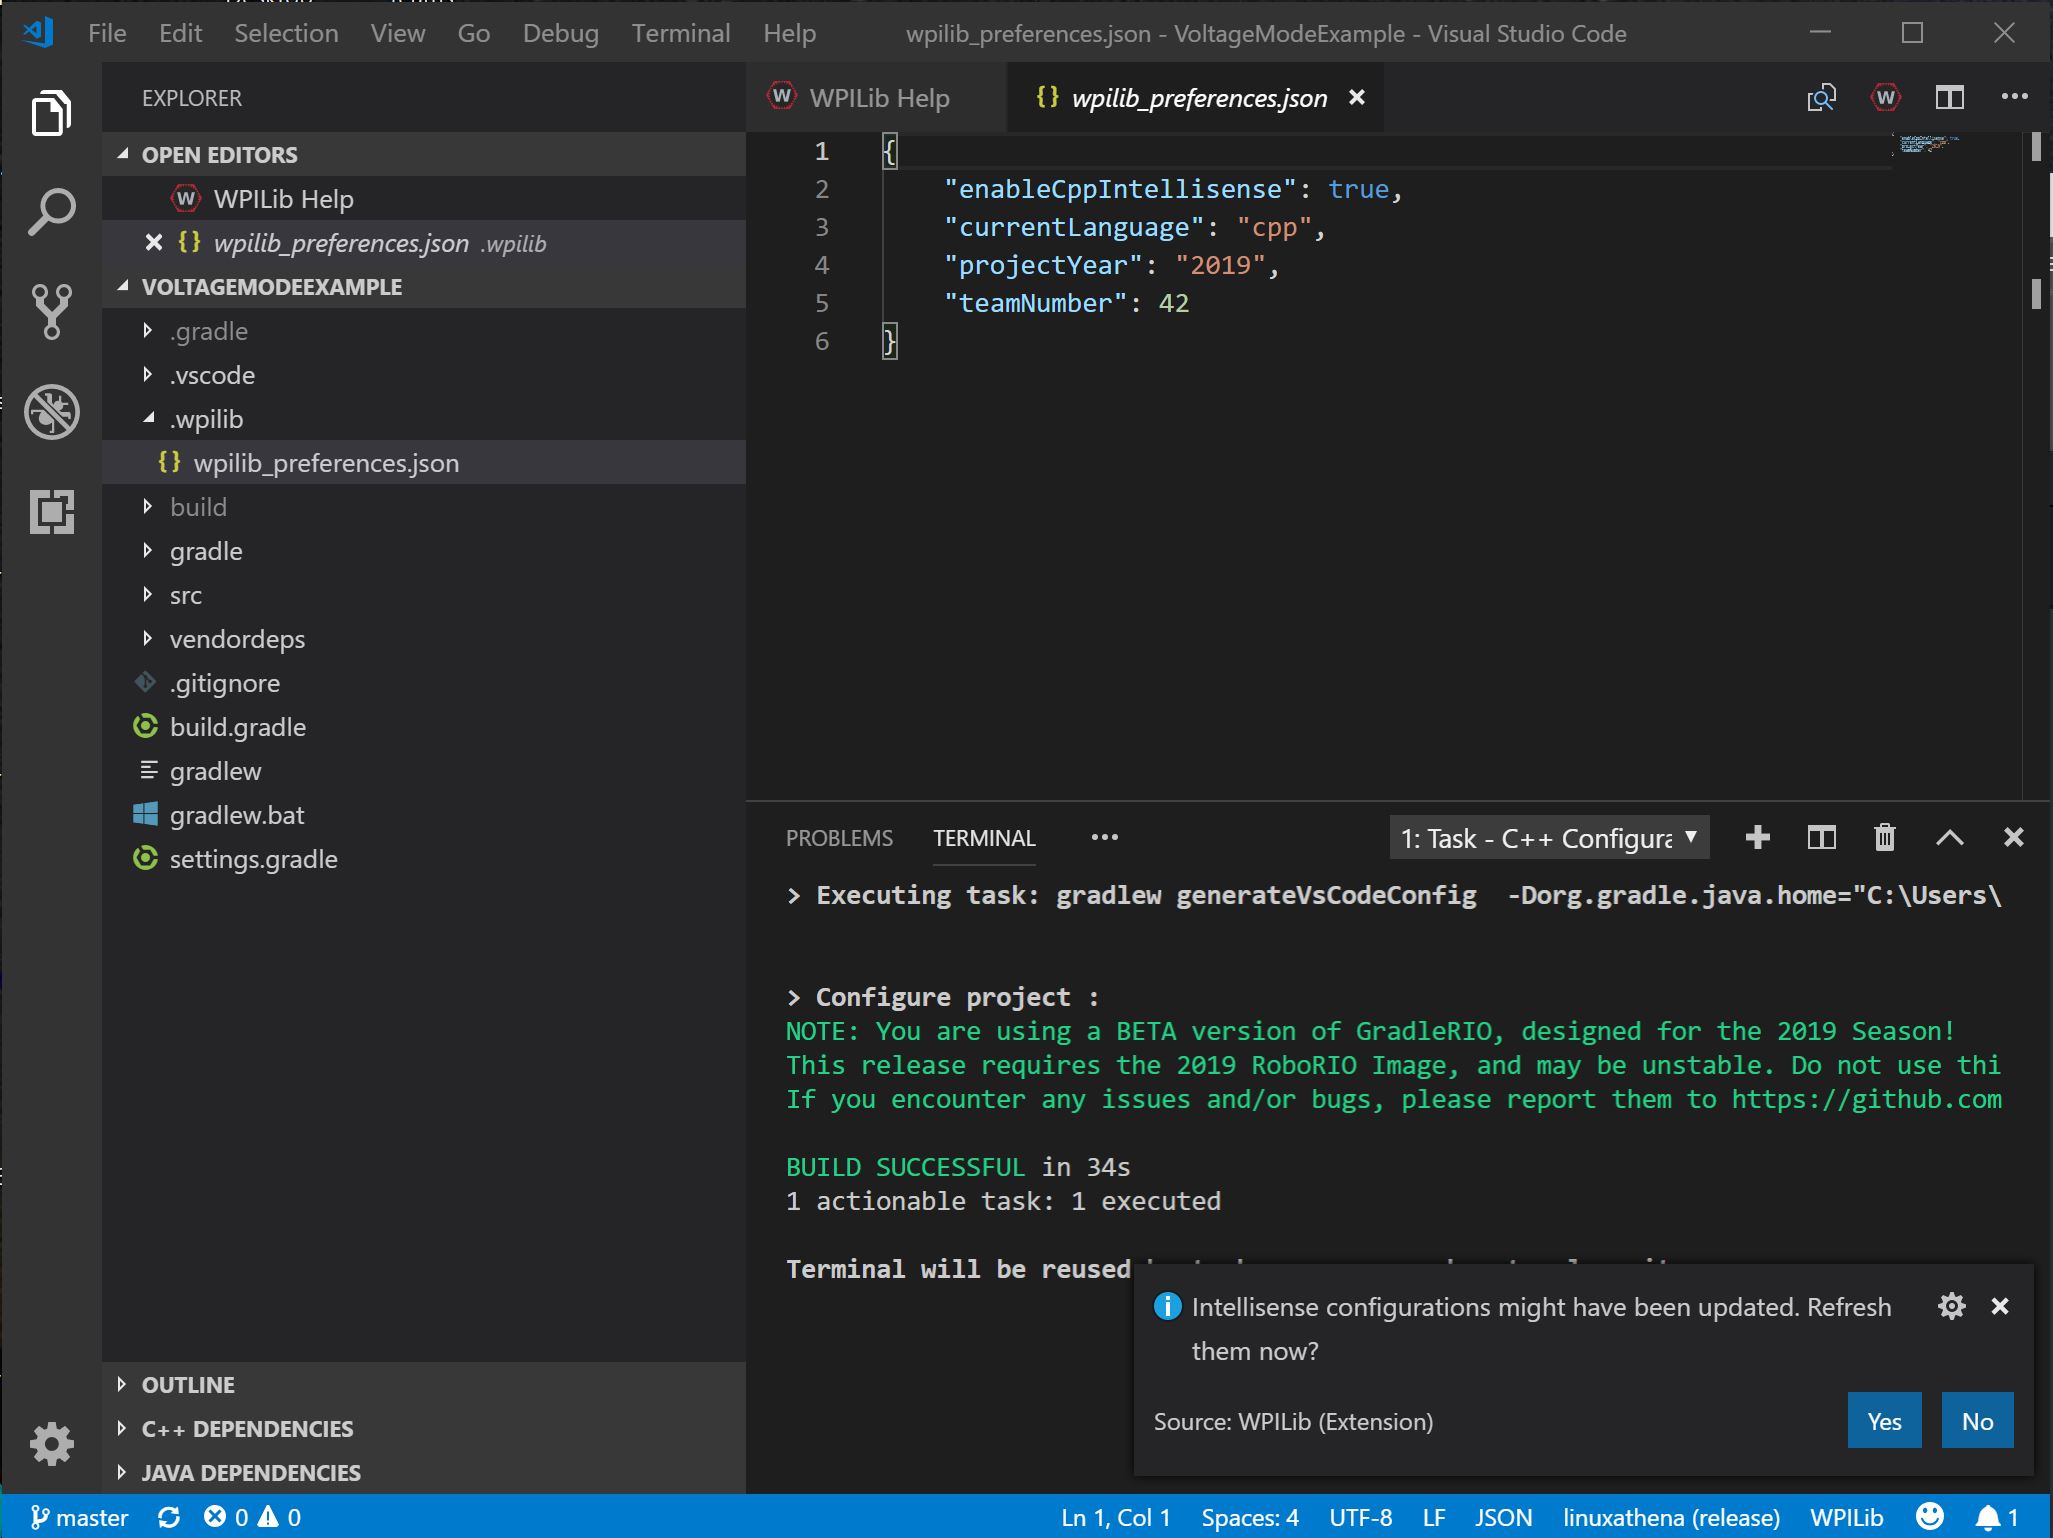
4.4) In the explorer tab, open .wpilib/wpilib_preferences.json. Change the team number to your team number and save the file.
4. Opening an example project (Labview)
4.1) Open LabVIEW FRC 2019.
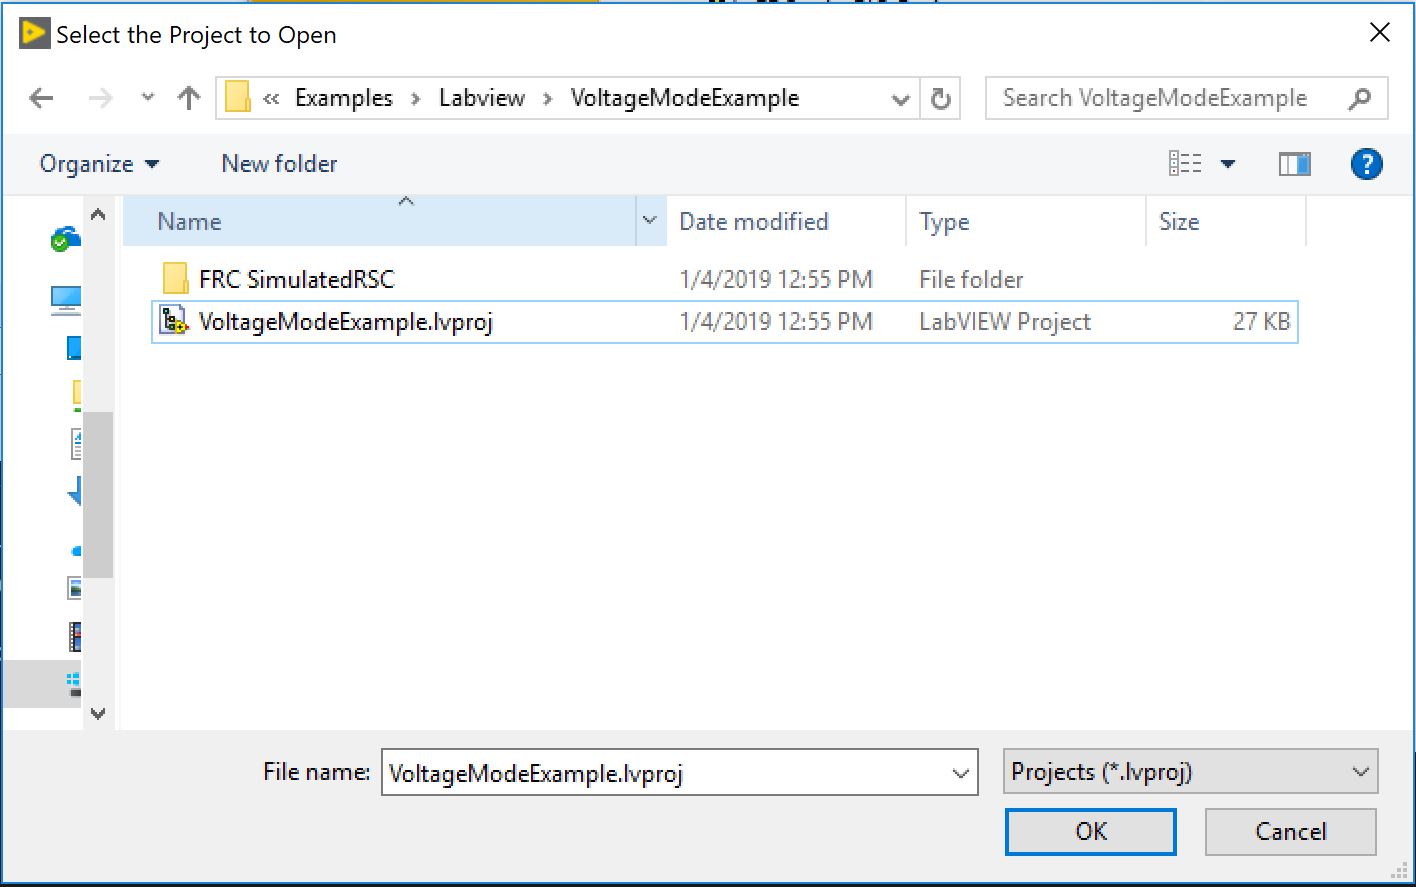
4.2) Click File>Open Project….
4.3) Navigate to the dmc60c-frc-api\Examples\Labview folder. Open the example project folder, select the .lvproj, and click OK to open the project.
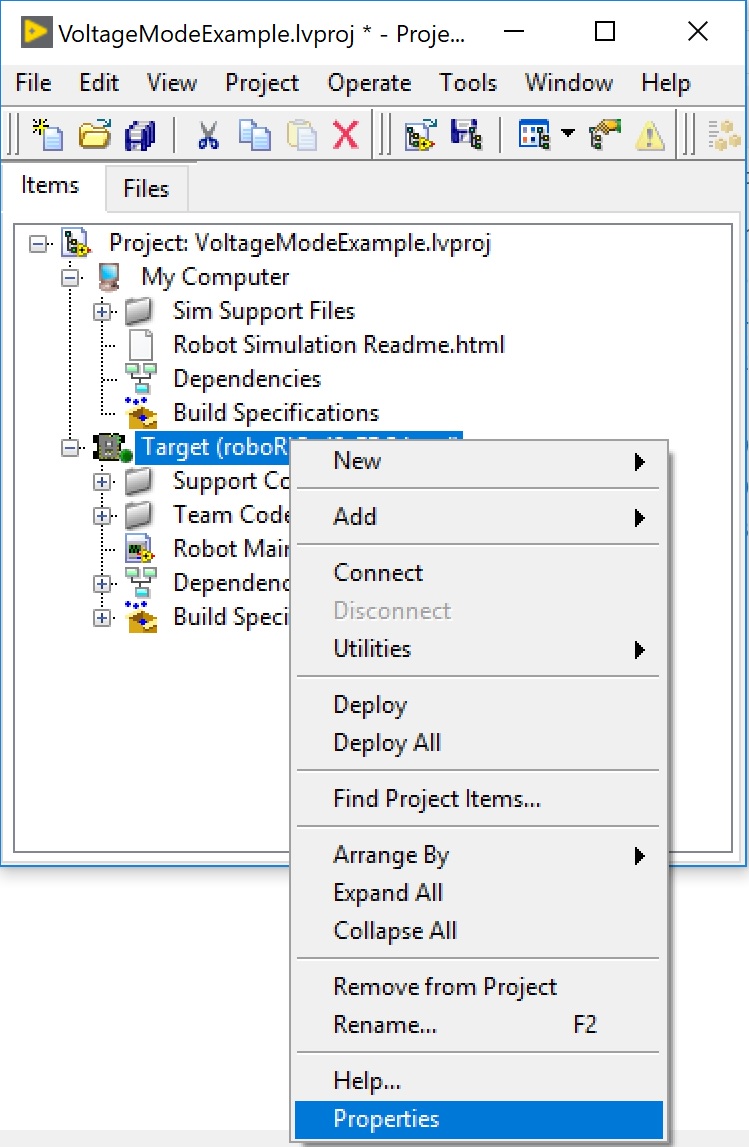
4.4) Right click the RoboRIO Target and open the Properties.
4.5) Under IP Address / DNS Name, change the team number 42 to your team number. Click OK.

5. Running the example project
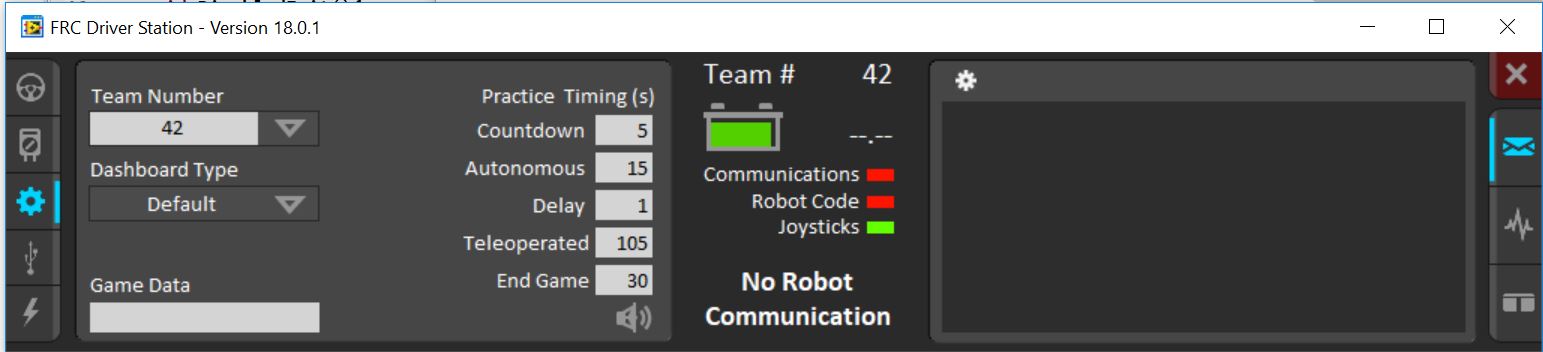
5.1) Run FRC Driver Station to open the FRC Driver Station.
5.2) Click the gear on the left side of the driver station. Change the Team Number to the roboRIO's team number and press enter. This should find the team's roboRIO. The roboRIO's IP address can also be entered here.
5.3) Plug in the controller and wait for the joysticks light to turn green.
5.4) Open src/main/cpp/Robot.cpp or src/main/java/frc/robot/Robot.java to open the top level robot implementation. Change the device number to the device number of your DMC60C.
5.5) When ready, click Run>Run. Click WPILib C++ Deploy and click Ok to deploy the code to the roboRIO.
5.6) Click the steering wheel on the left side of the driver station. Select Teleoperated and click Enable. This will start the teleoperated loop in the deployed example code on the roboRIO. You should now be able to drive the DMC60C with the connected joystick.