This is an old revision of the document!
Setting up FRC Driver Station
This guide will provide a step by step guide of setting up the FRC Driver Station environment for use in FRC Competitions.
Prerequisites
Hardware
- NI roboRIO
- USB Cable or Ethernet cable to plug it in.
- DMC60C
- USB Gamepad (Optional)
Software
- FRC Update Suite
- Eclipse for C++ and Java development
- DMC60C API
Tutorial
1. Setting up the roboRIO
1.1) Power up the roboRIO and plug it into your network via ethernet cable, or into the computer via USB.
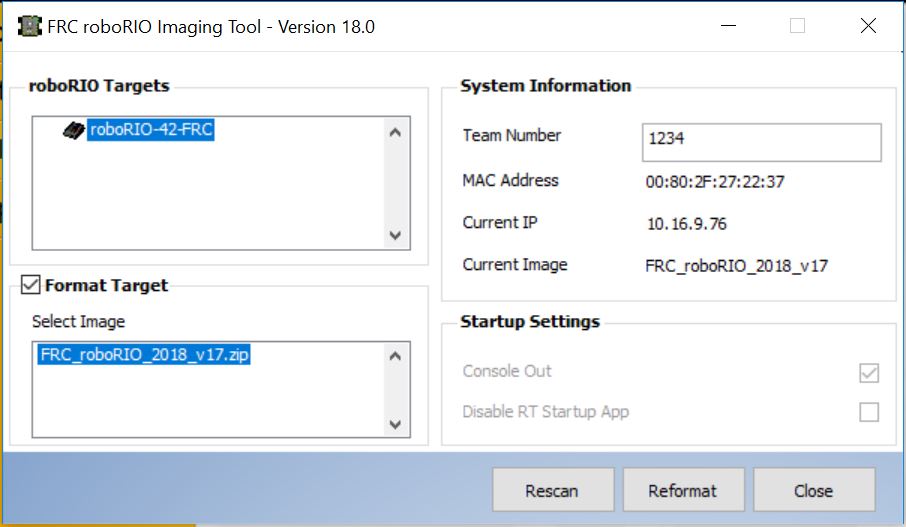
1.2) Open roboRIO Imaging Tool. Find the roboRIO in the roboRIO Targets box.
NOTE: If the roboRIO does not appear on the list, make sure that it is connected to the same network as the computer running the Imaging tool.
1.3) Enter your Team Number in the appropriate box.
1.4) Check the box next to Format Target, and select FRC_roboRIO_2018_v*.zip then click Reformat.
Once the roboRIO has been successfully reformatted and updated, you may close the Imaging tool.
2. Installing DMC60C Library files
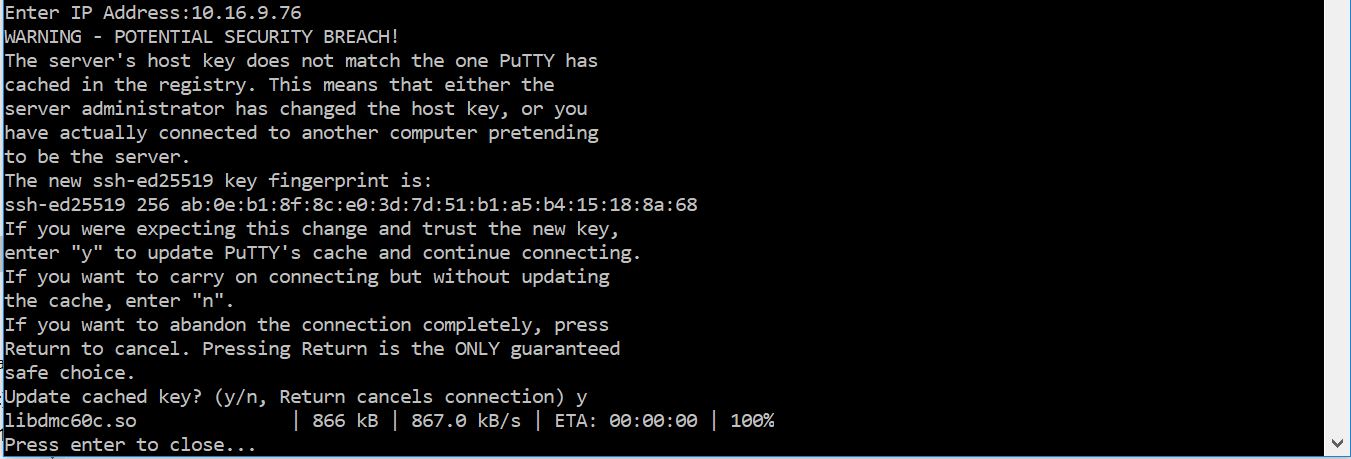
2.1) Run Copy files to wpilib and roboRIO.bat and enter your team number. This batch file will copy the DMC60C Library files to the WPILib directory, and to the roboRIO's /usr/local/frc/lib directory. It will also install the DMC60C Config Utility server onto the roboRIO. This server is hosted at “roboRIO-[team number]-FRC.local:8000”.
2.2) You may get the following message describing a potential security breach. You may disregard this message and press 'y'.
3. Opening an example project
3.1) Open Eclipse IDE.
3.2) Click Window>Preferences. Under WPILib Preferences, enter the team number of the roboRIO and click Apply and Close.
3.3) Click File>Open Projects from File System…. Click Directory. Navigate to the DMC60C_API/Examples/cpp/ folder and click OK. Check the box next to the examples to import. Click Finish.
3.4) Eclipse has problems with auto indexing the example projects, which can result in many false errors. Right click each example project and click Index>Rebuild.
4. Running the example project
4.1) Change the device number to the device number of the connected DMC60C.
4.2) When ready, click Run>Run. Click WPILib C++ Deploy and click Ok to deploy the code to the roboRIO.
4.3) Open the FRC Driver Station.
4.4) Click the gear on the left side of the driver station. Change the Team Number to the roboRIO's team number and press enter.
4.5) Plug in the controller and wait for the joysticks light to turn green.
4.6) Click the steering wheel on the left side of the driver station. Select Teleoperated and click Enable. This will start the teleoperated loop in the deployed example code on the roboRIO.


